Are you tired of fumbling around in the dark inside your RAV4, desperately searching for that elusive item you know is somewhere? You’re not alone. The TOYOTA RAV4 LED INTERIOR LIGHTS has left many owners feeling frustrated and dissatisfied. I’ve been there myself, reaching for my phone’s flashlight more times than I can count to find what I need. It’s a common problem that begs for a solution, and that’s where the LED interior light upgrade comes in.
Imagine stepping into your RAV4 at night and being greeted by a warm, bright glow illuminating every nook and cranny with crystal clarity. This simple yet transformative modification has become a game-changer for countless Toyota RAV4 owners seeking to elevate their driving experience. If you’re ready to bid farewell to dimly-lit searches and embrace the convenience of well-illuminated interiors, buckle up as we look at how this upgrade can shed some light on your RAV4 experience.
PURCHASING THE KIT FOR TOYOTA RAV4 LED INTERIOR LIGHTS
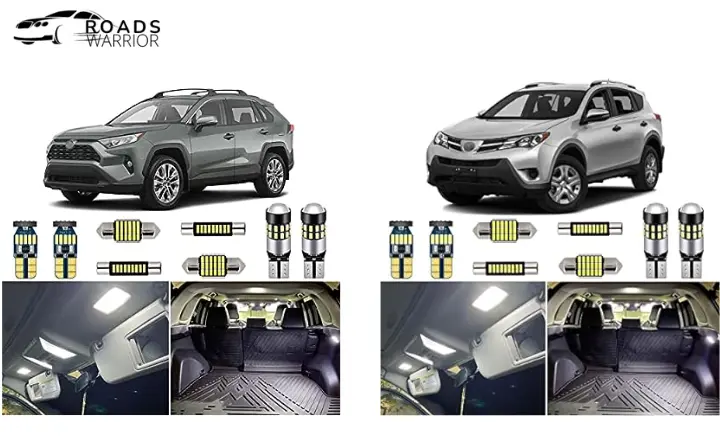
To begin, you must buy the Autogine interior LED kit for your specific model year. I recommend this brand for its quality and ease of installation, which we will go through in this tutorial. Depending on your car’s model year, two different kits are available. These kits can be easily found on Amazon for quick delivery right to your doorstep. We’ll start the installation process once you have the kit in hand.
INSTALLING THE LIGHTS
Installing new LED lights in your car can seem daunting, but it’s easier than you think when you break it down step-by-step. We’ll start with the simple steps, like removing old bulbs and identifying wiring, before moving on to trickier aspects, like securing and adjusting the new LED bulbs. I’ll provide detailed, easy-to-follow instructions for each phase of the installation process.
MATERIALS NEEDED
The LED kit you ordered has 8 LED lights and a plastic wedge, making it a comprehensive set for upgrading your interior lighting. Including 2 lights for the license plate adds extra value to the package, although this tutorial will focus solely on installing the interior lights.

It’s worth noting that the choice not to upgrade the license plate lights in this article is based on practicality rather than necessity, as these additional lights can be stored for future use if needed.
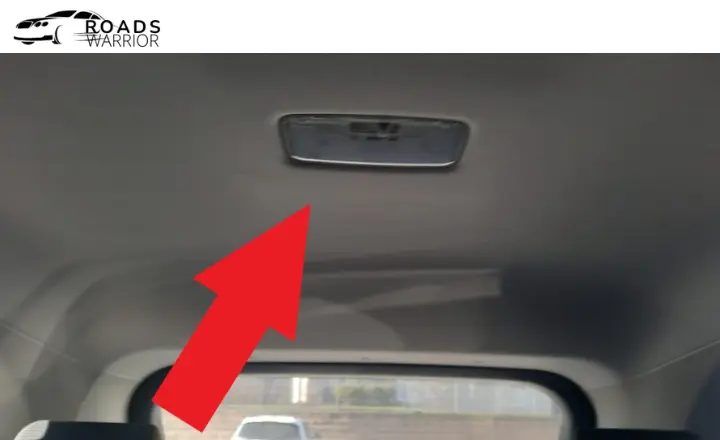
INSTALLING THE VISOR LIGHTS
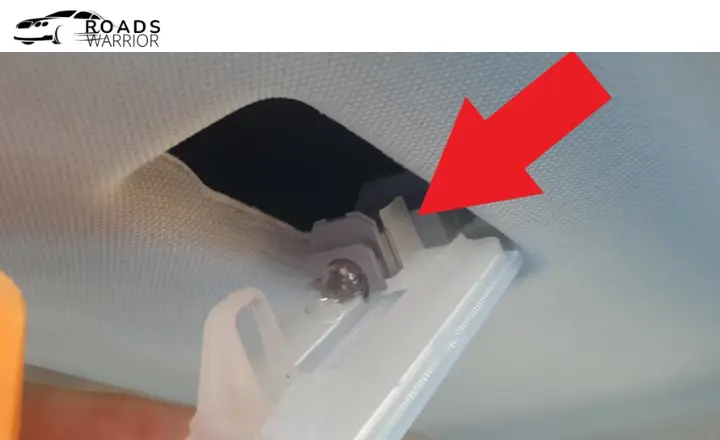
Let’s start by removing the light covers behind both visors. These conceal the bulbs that illuminate when you open the visor mirror.

Use the included plastic wedge tool to pry open the left side of each light cover. I am inserting the wedge on the left, which works for both visor covers.

Once the wedge is inserted, continue to pry the cover open carefully. You won’t break the cover by opening it this way.

Keep pulling the left side down once the cover releases until the bulb is exposed. UnclipUnclip the “U” shaped retaining clip if needed for easier access for easier access.
Gently pull the existing bulb directly outward from its socket to remove it. Wiggling while pulling straight out usually helps. Do not twist the bulb during removal.

Orient and insert the new LED bulb firmly into the now vacant socket.

Before replacing the cover, check the new bulb works by sliding open the visor’s mirror. If it doesn’t light up, remove and reinsert the LED, reversing the polarity.

Once the operation is confirmed, carefully snap the cover back on and repeat the process on the other visor’s light.
INSTALLING THE DOME LIGHT
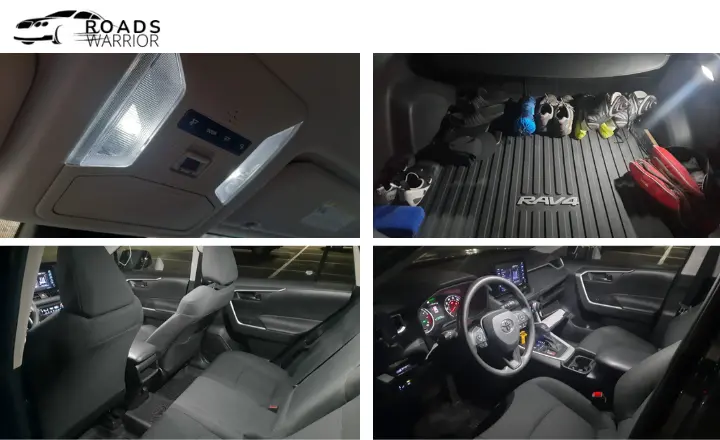
The dome light is an essential interior light above most vehicles’ rear passenger seats. It provides illumination for rear passengers.
To upgrade the dome light, you’ll want to replace the existing bulb with a new LED bulb. The LED bulb to use should be circled or indicated in any instructions provided.

Accessing the dome light assembly requires locating two small notches on the bottom of the light cover. These provide access points to pry open the cover.

Use a plastic wedge tool to carefully pry open each notch and remove the entire dome light cover. Take care not to break any plastic components.

With the cover removed, you can access the existing bulb. A small metal clip or tensioner piece usually holds the bulb in place. Press this to release the bulb and pull it out of the socket.
Please insert the new LED bulb by gently pressing it into the now-empty socket. Ensure it clicks securely in place. You may need to adjust the tensioner piece if it is loose for a snug fit.
Always test the new dome light before reinstalling the cover. If it does not turn on, try flipping the bulb around to reverse the polarity, as LEDs only allow current to flow in one direction.
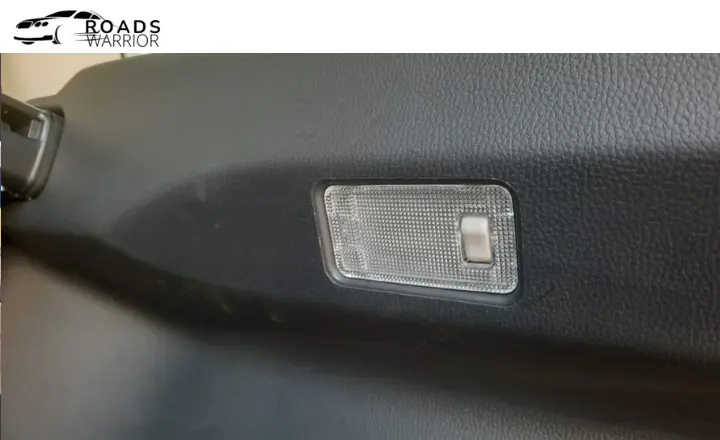
INSTALLING THE CARGO AREA LIGHT
When looking into the trunk area, the cargo light is on the right side.
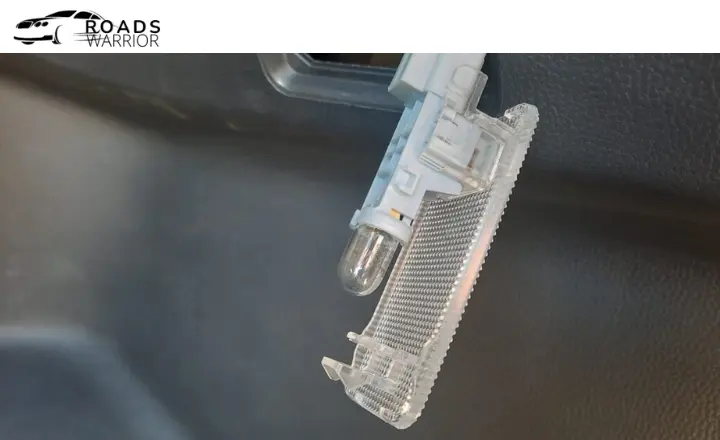
To remove the light, pry it gently from the left side. Clips are holding it in place that should release relatively quickly.

Once pried loose, you’ll see the back side of the light assembly. Slide off the protective cover over the bulb circled in the photo. You may need a pry tool to help pop it off.

Remove the cover and gently replace the old bulb with the new LED bulb. Make sure it is securely inserted.
Before replacing the light assembly, briefly turn on the cargo light to verify the new LED bulb works appropriately. If it does, turn it off and reinstall the light cover and the entire assembly by pressing it back into place.
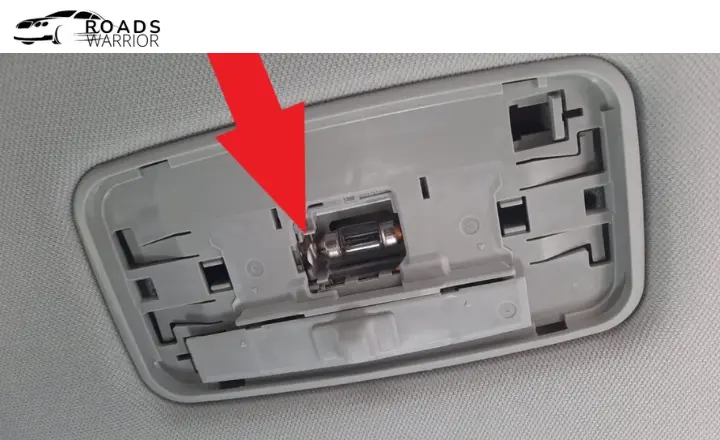
INSTALLING THE MAP LIGHTS
We’re now ready to remove the map lights. This next step, working with the plastic interior pieces, can be tricky if this is your first time doing it.
The map lights are integrated into the overhead console, including the sunglasses holder and various buttons, as shown in the photo below. Take your time removing this piece to avoid cracking the plastic.

Before you begin, it’s important to note that the map light assembly may vary depending on your vehicle’s model year and trim level. The assembly shown in this tutorial is commonly found in many cars. To minimize the risk of damaging any parts, it’s recommended to remove the entire assembly, which may require significant force.
Removing the assembly can be frustrating and may take some time. It’s not uncommon for it to feel like it will break during removal, but it’s unlikely to do so. When removing the assembly, focus on prying at specific points on the left and right sides of the front part of the assembly to release the clips holding it in place.

It’s essential to exert force evenly when prying at these points to avoid causing damage or breakage. Taking your time and patience will help prevent potential mishaps during this process.
Remember that patience and persistence are essential when dealing with stubborn components like this one. By following these steps carefully, you can safely remove the map light assembly from your vehicle without causing any damage.
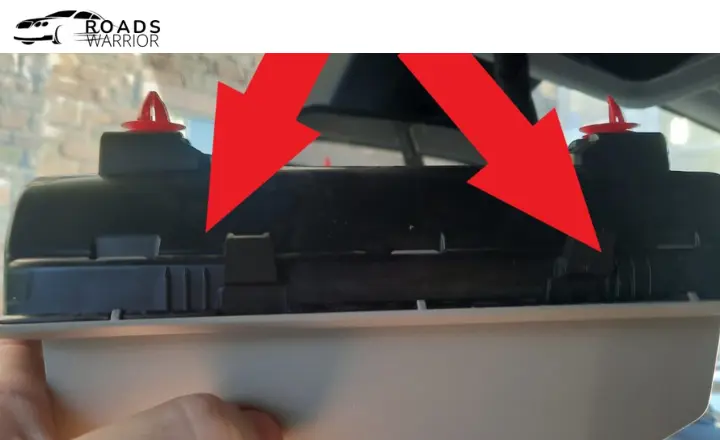
To locate the clips in the map light assembly, set the wedge in place and visually identify three plastic lines emerging from the headliner. These lines serve as guides to pinpoint where to pry and release the clips more accurately.
Once located, use a plastic wedge and your hands to apply firm pressure and pry the assembly loose. It may require multiple bursts of force to dislodge it from the ceiling, so be prepared for it to drop down suddenly.

If you find this step difficult or uncomfortable, consider taking your vehicle to a local auto shop for assistance. Look for a shop specializing in accessories, as they can help you complete the job at minimal or no cost.
After successfully removing the assembly, you’ll notice two circular pieces for each light. Twist these pieces to release the bulbs and perform necessary replacements or maintenance.
You can also read more about TOYOTA RAV4 MOCHA INTERIOR.
YOU DID IT!
Great news! Your new interior lights have been successfully installed. While most of the installation process was straightforward, the map lights posed a challenge. You were able to tackle this without any significant hiccups. If you have any questions or concerns, feel free to contact me, and I’ll gladly assist you promptly.